


The Ledger Nano S, along with KeepKey and Trezor, is definitely one of the best hardware wallets in the cryptocurrency world. It acts as a personal bank for all those users who wisely decide to keep their private key as safe as possible.
This guide will explain what is the Ledger Nano S, showing the features, the operation and how to use it with the most popular web-wallet around: MyEtherWallet.
- What is the Ledger Nano S?
- Why is it secure?
- What is it for?
- Which coins can it store?
- Installation
- Installing the required plugins
- Connection to MyEtherWallet
- An example: sending Ethereum (ETH)
- Reset of the Ledger Nano S: how to initialise it
- Reinstalling the required plugins
What is the Ledger Nano S?
The Ledger Nano S is a hardware wallet for cryptocurrencies. A physical wallet in which cryptocurrencies are stored in a completely secure manner. As you can see from the images below, there is a certain resemblance with USB drives. It connects to any computer with USB ports.
The box contains:
- Ledger Nano S;
- USB cable;
- Neck strap;
- Ring that allows you to use it as a keychain;
- Instructions for initial configuration;
- Recovery sheet.
It is compatible with the most popular operating systems: Windows (7+), Mac (10.8+), Linux or Chrome OS and the only requirement for configuration is the Google Chrome browser, in addition to the USB port mentioned above.
Why Ledger Nano S is secure? The password is kept offline
Security features
The Ledger Nano S is based on a dual chip architecture (ST31/STM32, with certification level: CC EAL5+). The integrated firmware is guaranteed by a cryptographic certificate.
Malware-proof
Initialisation and reset of settings are performed in the internal environment of the Ledger Nano S. Cryptocurrencies will never be exposed to the outside world.
The PIN Code
Each time the device is connected to a computer, it guarantees acces to private keys only to the user who owns it, through an 8-digit PIN.
Privacy
Private keys are never stored inside the Ledger, nor granted to third party services: they are present in what is called Secure Element, a protected area of the microcontroller.
What is the purpose of Ledger Nano S?
We mentioned that it is an offline wallet, and so it is used to store several cryptocurrencies. The ledger allows accepting or rejecting a transaction by confirming a message that will appear on the display.
What cryptocurrencies does it support?
At the time of writing, the Ledger Nano S is compatible with dozens of cryptocurrencies including: BTC, ETH, LTC, ZCASH, DASH, STRATIS, NEO, BCH and many more.
Installation
Introduction
The Ledger has only two buttons. When pressed individually, they allow navigating forwards (or backwards) through the available choices.
Pressed simultaneously, they are interpreted as a confirmation action or, more generally, as the action key.
At the beginning, it is necessary to connect the Ledger Nano S to the USB socket using the cable supplied in the box. The following screen will then be shown:
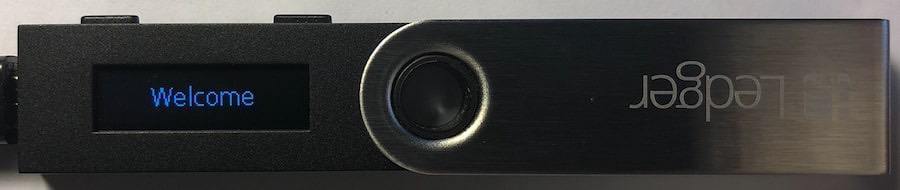
To continue, the two buttons must be pressed.
The right button is used to configure it as a new device.
Essential step: choosing the PIN by pressing both buttons.
The 8-digit PIN code is selected by moving forward and backward and selecting the numbers one by one, finally confirming your choice by pressing both buttons as usual.
The system requires you to repeat the same procedure as above to make sure you have entered your PIN code correctly.
Now comes the most important part of the whole configuration: the transcription of the recovery phrase. It is basically a sequence of 24 words necessary to recover the data inside the Ledger in case of loss.
Although it is tempting to write the words on the recovery sheet, it is not recommended to do so: this sheet is branded. It means that anyone who finds it, could easily find out what a Ledger is even without knowing anything about cryptocurrencies.
The standard sheet of paper is always the best solution.
For simplicity only three words are shown, each time we write one we press the right button to go to the next one.
As a confirmation of the fact that all of them have been correctly written down, the device will request all of them in the order in which they were previously displayed.
In this case, it asks for word number 6, but shows another word.
You just have to move with one of the two buttons until you find the required one.
Repeat the same procedure for the following words (in this case the number 8). A few seconds for processing and the Ledger Nano S is ready.
The initial configuration of the device is complete.
Installing the required plugins
As previously mentioned, it is necessary to use Google Chrome for the installation of plugins.
- 1. Ledger wallet Bitcoin and Altcoins
- 2. Ledger wallet Ethereum
- 3. Ledger wallet Ripple
- 4. Ledger Manager
- 5. Ledger Authenticator
Here is an example of how to install the Ledger wallet Bitcoin and Altcoins and the Ledger wallet Ethereum. For XRP and other cryptocurrencies the procedure is the same.
To select Ethereum, simply move with one of the two buttons and then press both buttons.
Entering Settings, where there are two modes: Contract Data and Browser support.
For both you have to enter and select YES.
The last step now remains, after which it is possible to make a transaction. Once you exit these sub-menus by selecting the various “back” options, you must go to the screen that shows Bitcoin and Ethereum and select Ethereum.
Connection to MyEtherWallet
Assuming you know how to use this web wallet, just open it and connect it to the Ledger Nano S.
The second tab at the top: “Send ether and token” is what we need. After having selected “Nano Ledger” as the access mode.
Connect to Ledger Wallet, a window will appear containing some parameters that should be left as they are.
Unlock your wallet is the next option, which will allow accessing the Ledger Nano S displaying the current balance.
An example: sending Ethereum (ETH)
Some Ethereum (0.0540236 ETH) will now be transferred from this wallet to another one.
You must enter the destination address and the amount of Ethereum.
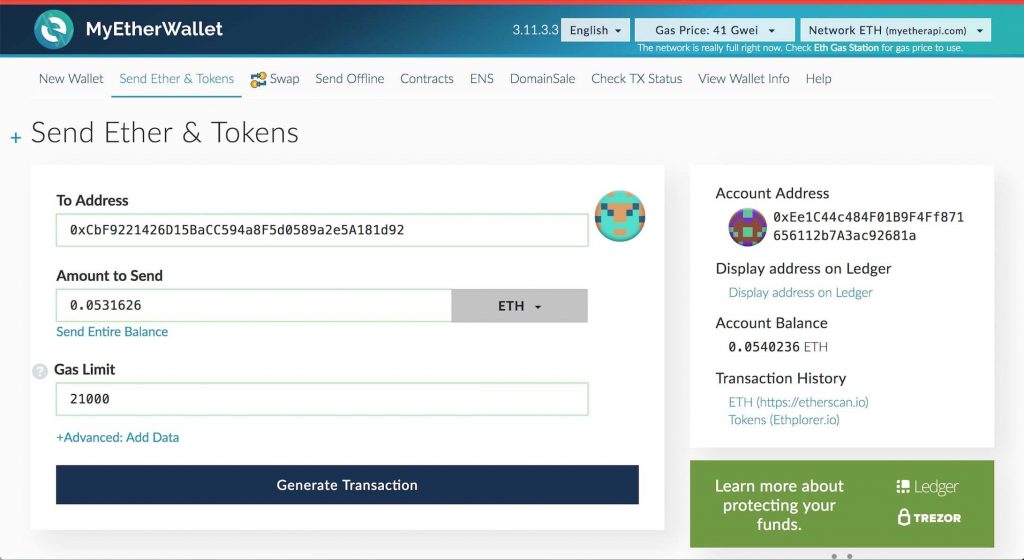
Click on Generate Transaction and then on Send Transaction.
A confirmation window will then open in which you will obviously choose
Yes, I’m sure! Make transaction.
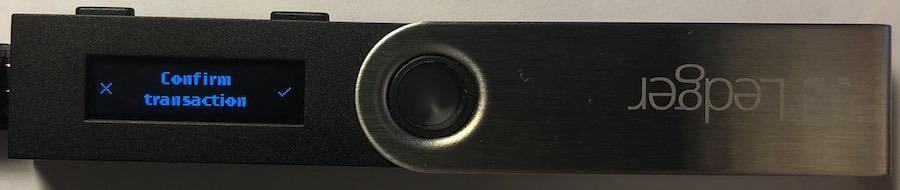
In the meantime, a screen will appear on our Ledger asking you to confirm the transaction by showing:
- the type of token (or cryptocurrency) and its quantity
- the address of the recipient wallet
- the maximum fees that may be applied to the transaction
Once the transaction is confirmed, it will actually be executed. If you want to use your smartphone as an Authenticator, instead of the Ledger, the app is available at this address.
Reset of the Ledger Nano S: how to initialise it
You may have forgotten your PIN code or entered it incorrectly three times. Alternatively, the 24 words needed for the recovery may also have been lost. In boths cases it is useful to know how to reset the Ledger Nano S so you can start from scratch.
To do this you need to follow this path:
Settings -> Device -> Reset all -> Confirm.
Reinstalling the necessary plugins
After repeating the entire initial procedure of choosing the PIN and transcription of the 24 words, it is absolutely necessary to reinstall all the plugins inside the Ledger in order to be able to handle the cryptocurrencies.
If this step is omitted, the Ledger will remain locked on the only available choice: Settings.
Although there are arrows to move around, it will not be possible to do so if you forget to reinstall all the plugins.

